
Root 1 Bread Cutting to Bloom All Year: 100% Success Guide
Root 1 Bread Cutting to Bloom All Year: Your 100% Success Guide
- Introduction
- Understanding Root 1 Bread Cuttings
- Step-by-Step Guide for Taking Cuttings
- Common Mistakes to Avoid
- FAQ
Introduction
If you’ve ever struggled to keep your indoor plants blooming beautifully throughout the year, you’re not alone. The pursuit of thriving plants can often feel daunting, especially when you encounter challenges with cuttings not rooting as expected. But with the right techniques and a bit of patience, the art of propagating plants can be a rewarding experience. Let’s explore how Root 1 bread cuttings can lead you to success in your gardening journey.
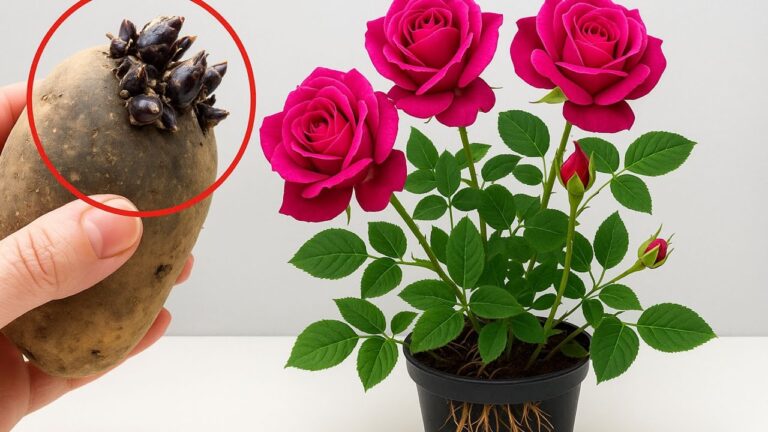
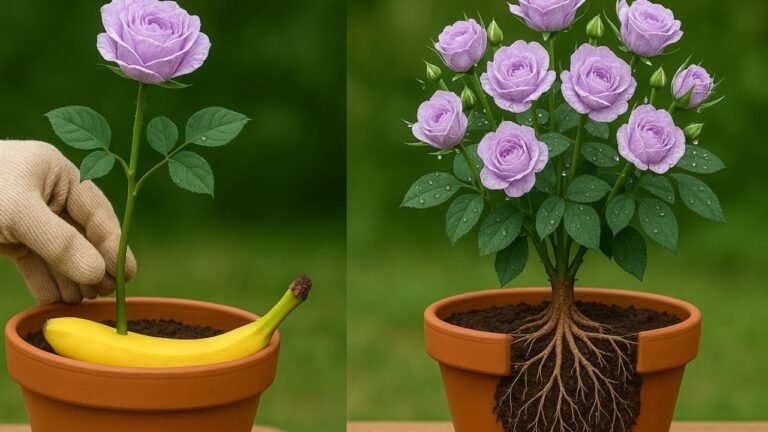
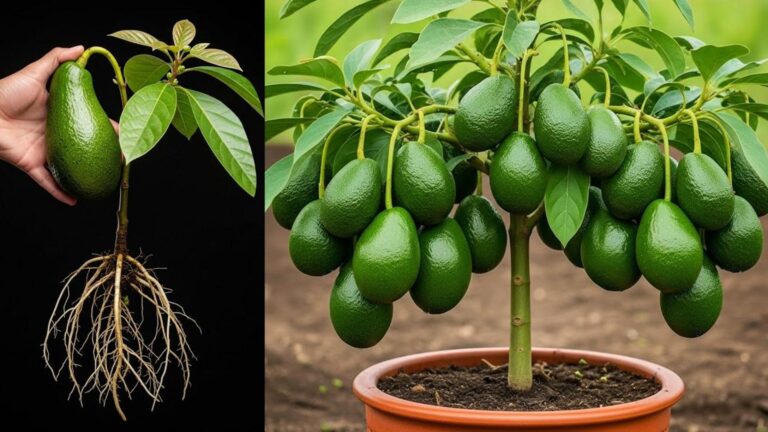
Understanding Root 1 Bread Cuttings
Root 1 bread cuttings are a popular method among gardeners looking to propagate various plant species successfully. The concept focuses on ensuring that each cutting has the best chance of developing roots, helping you expand your garden without purchasing new plants. Below are important aspects to understanding this propagation method.
Benefits of Root 1 Cuttings
- Cost-effective: Propagating from existing plants saves money.
- Sustainability: Grow your plants from those you already love.
- Variety: You can create multiple plants from a single healthy specimen.
Ideal Plants for Root 1 Cuttings
Not every plant thrives from cuttings, but many do. The following are particularly suited for this method:
- Herbs: Basil and mint are excellent choices.
- Houseplants: Pothos and spider plants do well.
- Shrubs: Certain flowering shrubs can also be propagated this way.
Step-by-Step Guide for Taking Cuttings
Now that you have an understanding of what Root 1 bread cuttings are, let’s delve into the practical steps required to take cuttings that will bloom beautifully. Follow these steps to ensure you have a successful propagation experience.
Materials Needed
Before you start, gather the following items:
- Sturdy scissors or pruning shears
- Potting soil
- Container with drainage holes
- A clear plastic bag or a humidity dome
Step-by-step Process
- Select a healthy parent plant to take your cuttings from.
- Cut a stem about 4 to 6 inches long, making the cut just below a leaf node.
- Remove the lower leaves, leaving just a few at the top.
- Dip the cut end in rooting hormone if desired.
- Plant the cutting in the prepared potting soil, ensuring it has enough support.
- Cover the container with a plastic bag or humidity dome to retain moisture.
- Place in a warm, bright location but away from direct sunlight.
Care Tips for Growing Cuttings
Ensuring your cuttings receive proper care is essential for success:
- Water lightly: Keep the soil moist but not waterlogged.
- Check for roots: After a few weeks, gently tug on the cutting to see if it’s anchored.
- Gradual acclimatization: When roots develop, slowly introduce your plant to regular conditions.
Common Mistakes to Avoid
While taking cuttings can be straightforward, avoiding common pitfalls is vital for your success with Root 1 bread cuttings. Here are mistakes to be aware of:
Overwatering
One of the biggest challenges is providing too much water, which can lead to root rot.
Using Dull Tools
Always use sharp scissors or shears, as a clean cut can enhance recovery and rooting.
Neglecting Light Conditions
While cuttings need bright light, placing them in direct sunlight can scorch them.
Not Monitoring Humidity
Failing to maintain humidity can dry out cuttings before they root.
Skipping Rooting Hormones
While not always necessary, using rooting hormones can significantly increase your chances of success.
FAQ
How long do cuttings take to root?
Typically, cuttings can take anywhere from a few weeks to a couple of months to develop roots, depending on the plant type and conditions provided.
Can I propagate cuttings in water?
Yes, many gardeners successfully propagate cuttings in water, but transitioning them to soil once roots develop is crucial for growth longevity.
What should I do if my cuttings aren’t growing?
If your cuttings aren’t taking off, check their light, humidity, and whether they are over or under-watered.
Conclusion
Successfully propagating plants with Root 1 bread cuttings enriches your gardening experience and expands your green space. By following the careful steps and avoiding common mistakes, you can enjoy flourishing plants that you nurtured yourself. What plants are you excited to propagate, and why? Share your thoughts in the comments!