Root Roses in Just 1 Easy Step for Beautiful Blooms You’ll Love!
Root Roses in Just 1 Easy Step for Beautiful Blooms You’ll Love
Introduction
Have you ever admired a neighbor’s vibrant rose garden and wished you could create a similar display in your own home? The thought of propagating your own roses can feel overwhelming, especially if you’re unsure where to start. However, rooting roses doesn’t have to be a daunting task. With just one simple method, you can cultivate beautiful blooms that will bring joy to your garden and your heart. Keep reading to uncover how easy it truly can be!
Essential Materials
Before diving into the rooting process, it’s important to gather your supplies. Here’s a list of the materials you’ll need:
- Healthy rose cuttings: Choose stems that are approximately 6 inches long and have a couple of leaves.
- Planting medium: A mixture of potting soil and perlite works well for drainage.
- Containers: Use small pots or recycled containers with drainage holes.
- Rooting hormone (optional): This can aid in faster root development.
- Water: Essential for keeping the cuttings moist.
Having these materials ready will make the next steps much smoother.
Simple Stepping Process
Now that you have everything at hand, let’s go through the straightforward steps to root your rose cuttings.
Step 1: Prepare the Cuttings
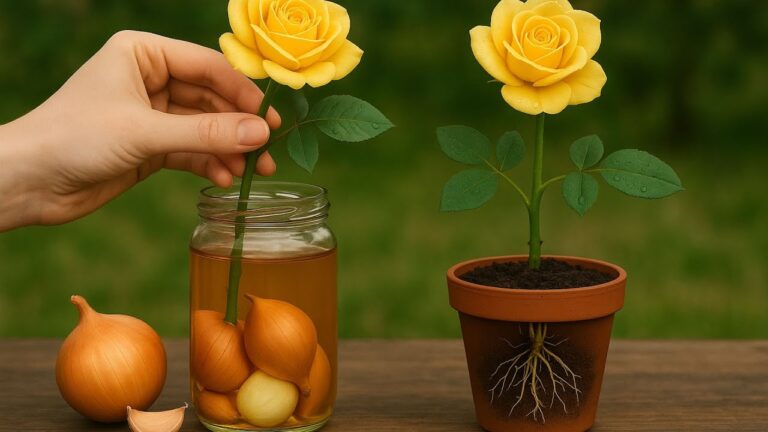
Start by cutting a healthy stem from an existing rose bush. Make sure to cut just below a node, as this is where roots will emerge. Remove any leaves from the bottom half to promote better rooting.
Step 2: Apply Rooting Hormone
If you have rooting hormone, dip the end of your cuttings into it. This will help stimulate root growth. Make sure to gently tap off any excess powder.
Step 3: Plant the Cuttings
Fill your container with the planting medium and make a small hole with your finger or a stick. Place the cutting into the hole and firm the soil around it to secure it.
Step 4: Watering
Water the cutting gently until the soil feels moist but not soggy. This ensures that the cutting receives the necessary hydration without drowning.
Step 5: Create a Humid Environment
To encourage rooting, cover your container with a clear plastic bag or a plastic dome to retain moisture. Be sure to open it occasionally to allow for air circulation.
Common Mistakes
As with any gardening process, there are common pitfalls to avoid to ensure successful rose rooting. Here are a few mistakes to be mindful of:
- Using non-healthy cuttings: Always select cuttings from healthy plants to increase your chances of success.
- Overwatering: Too much water can lead to rot. Ensure your cuttings are moist, not drenched.
- Insufficient light: Place your cuttings in a well-lit area, but avoid direct sunlight that could scorch them.
- Neglecting humidity: Creating a humid environment is crucial for encouraging root growth.
- Skipping the rooting hormone: While optional, it can greatly enhance rooting success.
FAQ
How long does it take for rose cuttings to root? Typically, rose cuttings can take anywhere from a few weeks to several months to root, depending on the conditions.
Can I root roses in water? Yes, some gardeners have success rooting cuttings in water, but using soil may lead to stronger roots.
What type of roses are best for rooting? Hybrid tea roses and climbing roses are popular choices for successful propagation.
Conclusion
Rooting roses can be a fulfilling gardening project that allows you to watch your hard work bloom before your eyes. By following these straightforward steps and avoiding common pitfalls, you’re well on your way to creating a lovely rose garden. Which variety of roses are you excited to try planting? Share your thoughts in the comments!