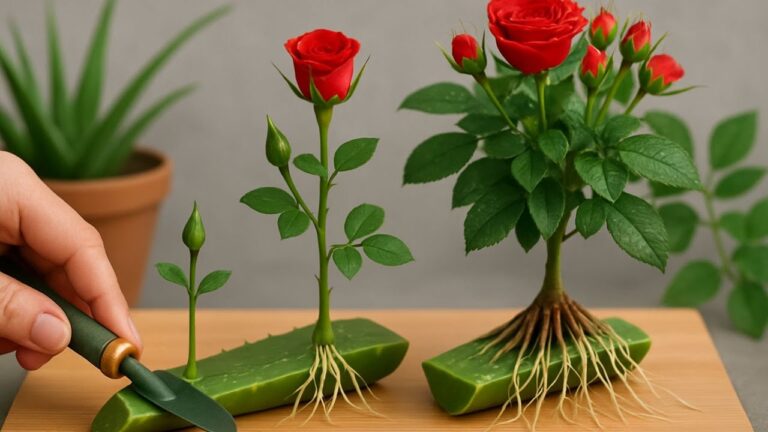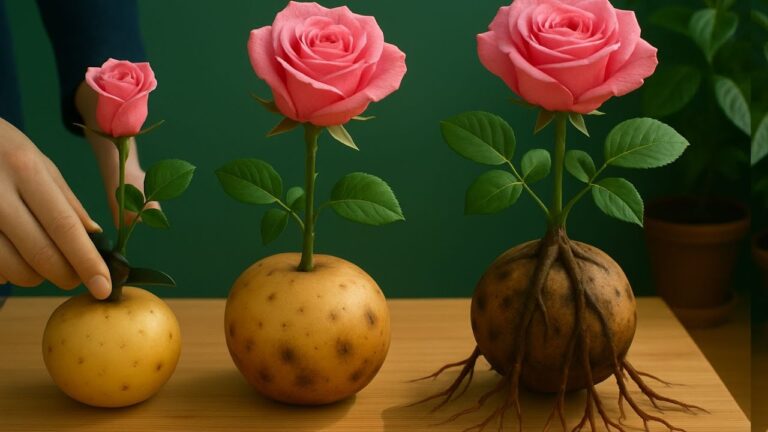
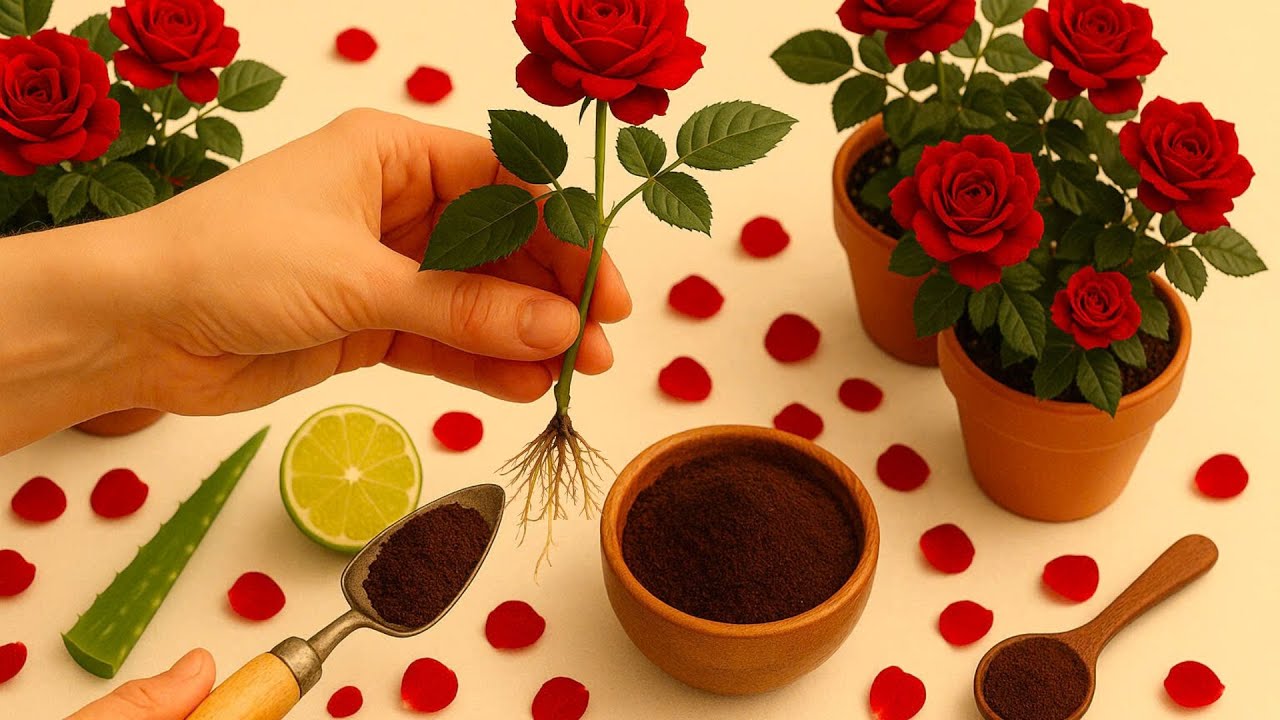
Discover 5 Simple Steps for a Unique Rose Propagation Method at Home!
5 Simple Steps for a Unique Rose Propagation Method at Home
Introduction
You might have noticed how enchanting fresh roses can be, whether in your garden or as a thoughtful gift. However, achieving that beautiful bloom through propagation can seem daunting if you’ve never tried it. Perhaps you’ve seen those perfect rose clippings but felt unsure about the best way to propagate them at home. Learning a unique method for rose propagation could help you cultivate a wide variety of these stunning flowers without spending a fortune. Let’s explore this captivating process together.
Required Materials
Before diving into the propagation process, it’s essential to gather a few simple materials. Here’s what you’ll need:
- Healthy rose clippings — Choose stems that are about 6 inches long with several leaves.
- Garden shears — These will help you make clean cuts.
- Potting soil — A high-quality potting mix is ideal.
- Small pots — Ensure good drainage for your new plants.
- Plastic bags or a humidity dome — This will help maintain moisture during the rooting process.
Step-by-Step Process
Now that you have everything ready, let’s walk through each step of this unique rose propagation method.
1. Prepare the Cuttings
- Choose a healthy rose bush and select your clippings.
- Cut a 6-inch stem just below a leaf node using garden shears.
- Remove the leaves from the bottom half of the cutting to direct energy toward root growth.
2. Create a Rooting Hormone
While you can buy rooting hormone, making a natural version can be just as effective. Here’s how:
- Mix one tablespoon of cinnamon powder with a cup of water, letting it steep for a few hours.
- Dip the cut end of your rose cutting into this mixture to promote root development.
3. Plant the Cuttings
- Fill your small pots with potting soil, leaving a bit of space at the top.
- Insert the dipped end of the cutting into the soil, burying it about 2 inches deep.
- Water the soil lightly to ensure it is damp but not soaked.
4. Create a Humid Environment
To encourage your cuttings to root, it’s crucial to maintain humidity:
- Cover the pots with plastic bags or place them inside a humidity dome.
- Ensure that the cover does not touch the leaves to prevent rot.
5. Place in Indirect Sunlight
- Find a warm, bright spot in your home that receives indirect sunlight.
- Monitor the soil moisture, lightly watering if it starts to dry out.
Mistakes to Avoid
When propagating roses, there are a few common pitfalls to watch out for. Here are mistakes to avoid:
- Choosing unhealthy or old cuttings can lead to failure. Always select fresh stems.
- Planting too deeply may hinder root growth. Ensure only the cut end is beneath the soil.
- Neglecting to maintain humidity can dry out cuttings. Consistent moisture is vital.
- Exposing the cuttings to direct sunlight too soon might scorch them. Use indirect light initially.
FAQ
How long does it take for rose cuttings to root? Rose cuttings typically take 4 to 6 weeks to root, depending on conditions like temperature and humidity.
Can I propagate roses in water? While it’s possible, propagating in soil tends to yield better results for roses.
What type of roses are best for propagation? Hybrid tea roses, floribundas, and shrub roses generally propagate well from cuttings.
Conclusion
Successful rose propagation at home can reward you with beautiful blooms and a sense of accomplishment. By following these steps, you’re well on your way to developing a vibrant rose collection. What types of roses are you hoping to propagate? Share your thoughts in the comments!