
5 Easy Steps to Make Homemade Yogurt You’ll Never Buy Again!
5 Simple Steps to Make Homemade Yogurt You’ll Never Buy Again
Introduction
Have you ever decided to pick up some yogurt from the store only to find that the flavors and ingredients don’t match your expectations? Perhaps you want to control what goes into your food more closely or avoid store-bought options laden with additives. Making yogurt at home might seem daunting, but it’s easier than you think. By following these simple steps, you can create fresh, creamy yogurt that’s tailored to your taste. Read on to discover how to make homemade yogurt effortlessly.
Required Ingredients
Before diving into the preparation of your homemade yogurt, gather the following ingredients:
- 4 cups of milk (whole or low-fat, depending on your preference)
- 2-3 tablespoons of plain yogurt with live cultures
- Optional: sweeteners or flavorings such as honey, vanilla, or fruit
Choosing quality ingredients will ensure a delicious outcome. Organic milk and a yogurt starter that includes live active cultures work best for a creamy texture and tangy flavor.
Preparation Process
Follow these simple steps to make your homemade yogurt:
- Heat the milk: In a saucepan, heat the milk over medium heat until it reaches about 200°F (93°C). This helps to kill any unwanted bacteria.
- Cool the milk: Remove the milk from heat and let it cool down to around 110°F (43°C). Use a thermometer for accuracy.
- Add yogurt starter: Whisk in the plain yogurt until fully combined. This adds the necessary live cultures.
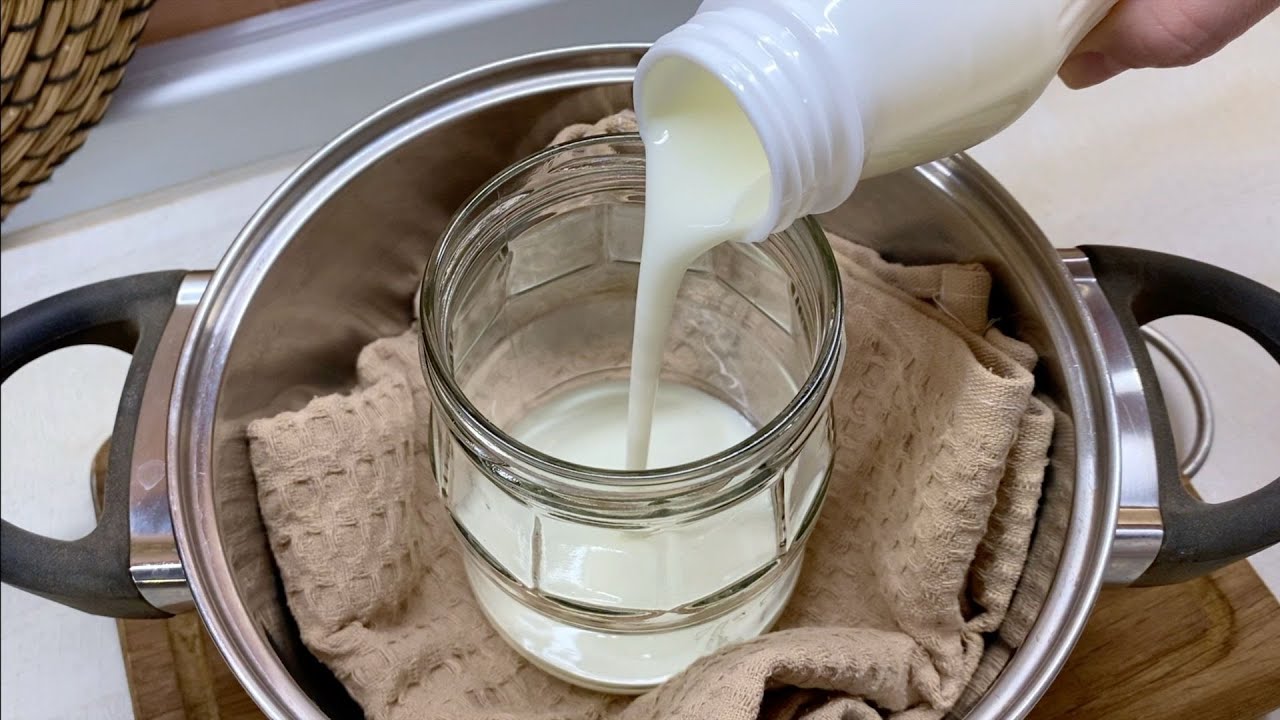
- Incubate the mixture: Pour the mixture into a clean jar or bowl, cover it, and place it in a warm environment (like an oven with the light on or a yogurt maker) for 6 to 12 hours. The longer it sits, the tangier it will become.
- Chill your yogurt: Once the desired acidity is achieved, transfer the yogurt to the fridge for a couple of hours. This helps firm it up.
Once chilled, your homemade yogurt is ready to enjoy. Top it with fruit, nuts, or a drizzle of honey for added flavor.
Common Mistakes to Avoid
- Not heating the milk sufficiently — this could lead to undesired bacteria contamination.
- Using yogurt that doesn’t contain live cultures — check the label before buying.
- Incubating for too long — experimenting with incubation time is key to finding your perfect flavor.
- Not maintaining warmth during the incubation period — ensure your yogurt stays warm enough for the cultures to thrive.
- Rushing the cooling process — patience is your friend when making yogurt!
FAQ
What kind of milk is best for homemade yogurt? Whole milk generally provides creamier yogurt, but you can use low-fat or skim milk if preferred.
Can I reuse my homemade yogurt as a starter? Yes, you can use your homemade yogurt as a starter for your next batch, but it’s best to occasionally replace it with store-bought yogurt to ensure live cultures are active.
How long does homemade yogurt last? When stored in the refrigerator, homemade yogurt generally stays fresh for about 1 to 2 weeks.
Conclusion
Making homemade yogurt is a rewarding and delicious endeavor that allows you to take control of your food. By following these simple steps, you’ll soon enjoy creamy yogurt that suits your taste. What flavors or toppings are you excited to try with your homemade yogurt?