Root Rose Petals 100x Faster with This Quick & Inexpensive Technique!
Root Rose Cuttings Faster with This Quick & Inexpensive Technique
- Introduction
- Proper Preparation of Rose Cuttings
- Creating an Ideal Environment
- Common Mistakes to Avoid
- FAQ
Introduction
Have you ever felt discouraged when your rose cuttings don’t seem to take root? Many gardeners face this challenge, especially when trying to propagate new plants from beloved varieties. The process of rooting rose cuttings can be tricky, often leading to disappointment when results take longer than expected. With the right approach, you can minimize that waiting time and set your roots up for success. Delve into this guide to learn how to quickly and inexpensively root rose cuttings.
Proper Preparation of Rose Cuttings
To ensure your rose cuttings thrive, start with the proper preparation. This foundational step sets the stage for robust growth.
1. Selecting the Right Cuttings
- Choose healthy and vibrant stems that are about 6 to 8 inches long.
- Look for cuttings from a plant that is well-established and free from disease.
- Opt for semi-hardwood stems, usually taken in late spring or early summer when they are ready for propagation.
2. Cutting Techniques
Using the right cutting technique is crucial for your rose cuttings.
- Make a clean cut just below a node or leaf junction with sharp, sterile scissors.
- Remove any leaves from the bottom half of the cutting to avoid rot.
- Dip the cut ends in rooting hormone to encourage faster development.
Creating an Ideal Environment
The environment in which you place your cuttings can significantly impact their success rate.
1. Preparing the Soil
Choose a lightweight potting mix that retains moisture without becoming soggy. You can create a suitable medium by mixing:
- One part peat moss
- One part perlite or sand for drainage
2. Choosing the Right Container
Your choice of container makes a difference:
- Use small pots or trays with drainage holes to prevent waterlogging.
- A clear plastic container can also provide visibility for moisture levels and root development.
Place your containers in a warm, bright location with indirect sunlight to foster a nurturing atmosphere for your cuttings.
3. Maintaining Moisture Levels
Moisture is critical, especially in the early days.
- Water your cuttings lightly after planting.
- Cover them with a plastic bag or a clear dome to create humidity, removing it occasionally to prevent mold.
Common Mistakes to Avoid
- Using cuttings from unhealthy plants can lead to disease transmission.
- Overwatering can cause stem rot, which can quickly kill your cuttings.
- Neglecting to provide adequate light or warmth can slow down rooting.
- Skipping the rooting hormone may reduce the effectiveness of your cuttings.
- Forgetting to check humidity is a common oversight that can dry out your cuttings.
FAQ
What is the best time to take rose cuttings?
The best time to take rose cuttings is during late spring to early summer when the stems are semi-hardwood and fully developed.
How long does it take for rose cuttings to root?
Typically, rose cuttings can take anywhere from 3 to 6 weeks to root, depending on the variety and environmental conditions.
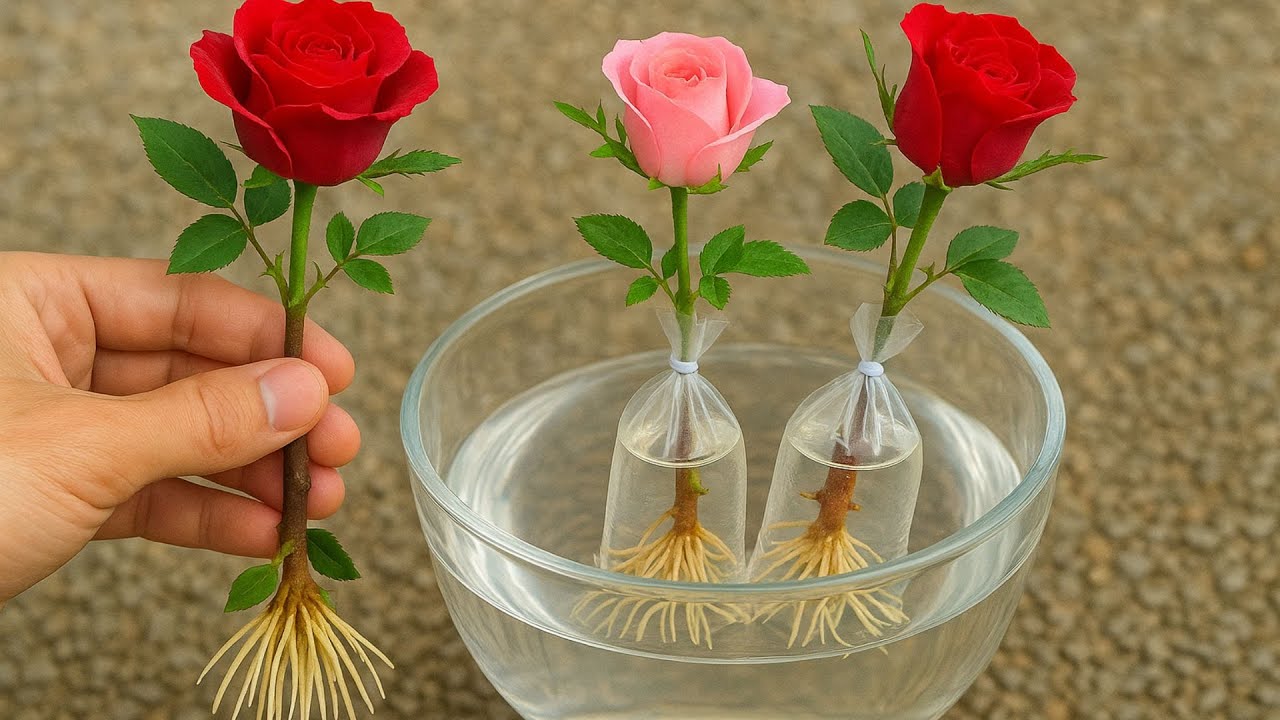
Can I root rose cuttings in water?
Yes, some gardeners successfully root rose cuttings in water, but it is generally more effective to use a potting medium for better rooting outcomes.
Conclusion
By following these guidelines, you can successfully ensure that your rose cuttings root more quickly and effectively. Proper preparation and an ideal environment are key to your success. What type of roses are you interested in propagating? Share your thoughts in the comments!