5 Secrets to Propagating Red Roses with Dry Yeast You Need to Try Now
5 Secrets to Propagating Red Roses with Dry Yeast
- Introduction
- Potentials and Benefits of Dry Yeast
- Step-by-Step Guide to Propagate Red Roses
- Common Mistakes to Avoid
- FAQ
Introduction
Have you ever admired the beauty of red roses but felt daunted by the idea of propagating them? Many gardeners share this experience, often unsure of where to start or hesitant about the right methods. Propagating roses can seem overwhelming, but it doesn’t have to be. Using dry yeast adds an extra layer to the process, making it intriguing and effective. Let’s explore some essential insights that can help you in your gardening journey.
Potentials and Benefits of Dry Yeast
Utilizing dry yeast in rose propagation offers unique advantages. Here are several key reasons why it’s worth considering:
- Boosts Root Development: Dry yeast is rich in nutrients that can stimulate root growth, leading to healthier plants.
- Enhances Microbial Activity: It improves the soil’s microbial ecosystem, which aids in nutrient absorption.
- Encourages Faster Growth: With improved conditions, your new cuttings can grow more quickly and establish themselves sooner.
Understanding Yeast’s Role
Dry yeast works as a natural catalyst. When mixed with water, it activates and releases beneficial microorganisms that enrich the soil. This process can greatly enhance your chances of successful propagation.
Nutritional Benefits for Plants
Yeast contains essential B-vitamins and amino acids, which contribute to plant health. Incorporating these nutrients into your propagation routine can help your roses thrive and yield stunning blooms.
Step-by-Step Guide to Propagate Red Roses
Now that you understand the benefits, let’s dive into the process of propagating red roses using dry yeast. Follow these simple steps for the best results:
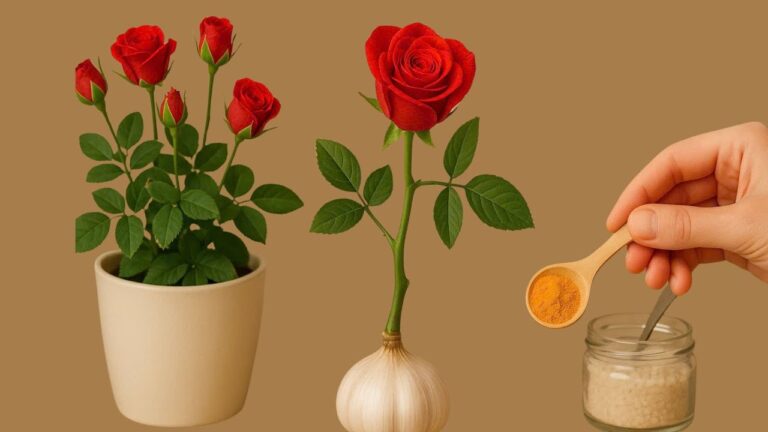
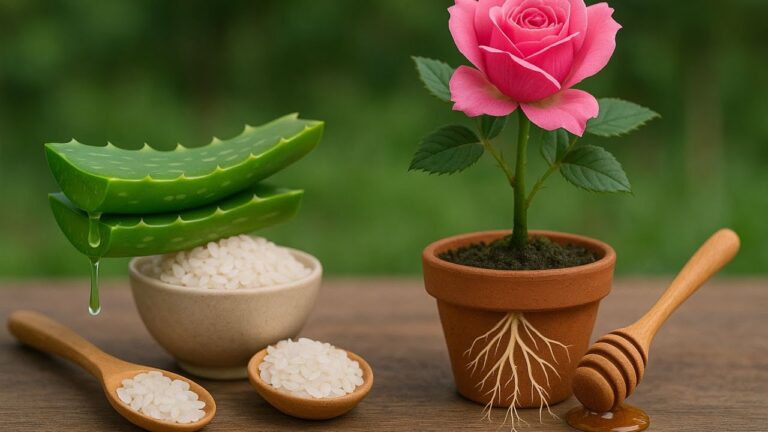
- Gather Materials: You will need red rose cuttings, dry yeast, water, a clean container, and some potting soil.
- Prepare the Cuttings: Take cuttings of about 6 inches long, ensuring they are healthy and free of disease. Remove any leaves from the bottom half.
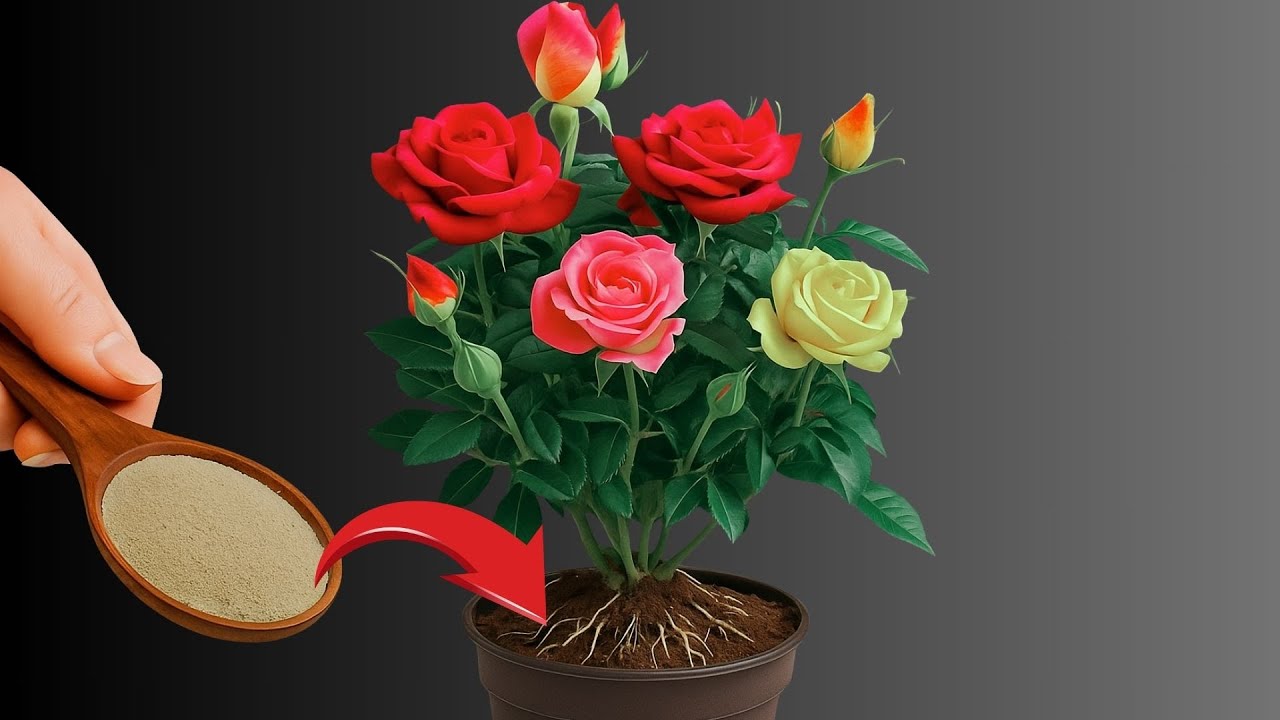
- Activate the Yeast: In a small bowl, mix a teaspoon of dry yeast with warm water. Allow it to sit for about 10-15 minutes until it becomes frothy.
- Soak the Cuttings: Dip the cut ends of the rose cuttings into the activated yeast mixture for a few minutes.
- Plant the Cuttings: Insert the soaked cuttings into the potting soil in your container, ensuring they are positioned upright and spaced adequately.
Care for the New Plants
Place the container in a warm, well-lit area but avoid direct sunlight. Keep the soil moist, but not soggy, and cover the container with a clear plastic bag to retain humidity.
Transplanting Your Roses
Once roots develop, which can take several weeks, carefully transplant your roses to larger pots or directly into your garden. Monitor their growth and continue providing proper care, including watering and fertilizing as needed.
Common Mistakes to Avoid
Avoiding common pitfalls is key to successful propagation. Here are some mistakes to keep in mind:
- Overwatering: Too much water can lead to rot. Ensure the soil drains well and avoid sogginess.
- Using Weak Cuttings: Selecting healthy, vigorous cuttings is crucial. Weak or diseased cuttings may not root.
- Neglecting Humidity: Roses thrive in humid conditions. A lack of humidity can hinder growth, so consider using a humidity dome.
- Ignoring Temperature: Roses prefer warmer temperatures for rooting. Make sure they are in a suitable environment.
FAQ
Can I propagate red roses without using yeast?
Yes, red roses can be propagated using other methods, but incorporating yeast can enhance root development.
How long does it take for rose cuttings to root?
Typically, it takes about 4 to 6 weeks for rose cuttings to develop roots, but this can vary depending on conditions.
What type of soil works best for propagation?
A well-draining potting mix is ideal for propagating rose cuttings, providing the right balance of moisture and nutrients.
Conclusion
Propagating red roses with dry yeast can lead to lush and vibrant plants with a little attention and care. By avoiding common mistakes and following the right steps, you can enjoy this rewarding gardening experience. What challenges have you faced in your own propagation efforts? Share your thoughts in the comments!