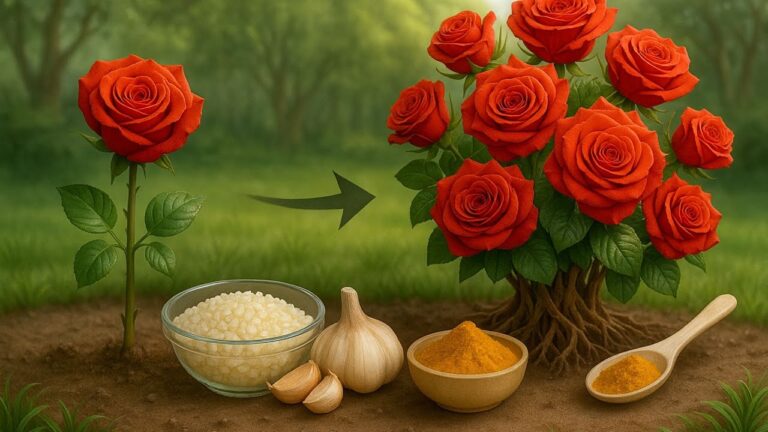

Transform Your Garden: 1 Spoon for Fast-Blooming Rose Branches!
Transform Your Garden: A Guide to Fast-Blooming Rose Branches
- Understanding Rose Propagation
- Preparing Your Rose Branches
- Planting Techniques for Success
- Common Mistakes to Avoid
- FAQ
Understanding Rose Propagation
Picture this: your favorite garden space is filled with lush greenery, but it seems like something is missing. You long for vibrant, blooming rose branches to create an enchanting atmosphere. Understanding how to propagate roses effectively can turn your garden dreams into reality. Rose propagation allows you to cultivate new plants from existing ones, providing you with beautiful blooms while saving costs. In this section, you’ll discover the essentials of rose branch propagation and what makes it thrive.
Benefits of Propagating Roses
Before diving into the process, let’s explore some benefits of propagating roses:
- Cost-effective way to expand your garden.
- Control over the varieties you want to grow.
- Opportunity to preserve heirloom or favorite varieties.
When to Propagate Roses
Timing is key! The best time to propagate roses is during early spring or late summer when the weather is mild. You’ll notice that your roses are actively growing, making them more receptive to propagation.
Preparing Your Rose Branches
To ensure successful propagation, you need to prepare your rose branches properly. Here’s how to get started:
Choosing the Right Branches
Select healthy, young branches that are firm and flexible. Look for stems that have recently flowered but are still green and not woody. This will ensure they have the vitality needed for rooting.
Tools and Materials Needed
Gather the following materials to make the process go smoothly:
- Sharp pruning shears or a knife
- Rooting hormone (optional)
- Potting mix or seed-starting soil
- Small pots or a seed tray
- Plastic bag or a plastic dome
Planting Techniques for Success
Once you’ve prepared the branches, it’s time to plant them. Follow these steps to maximize your success:
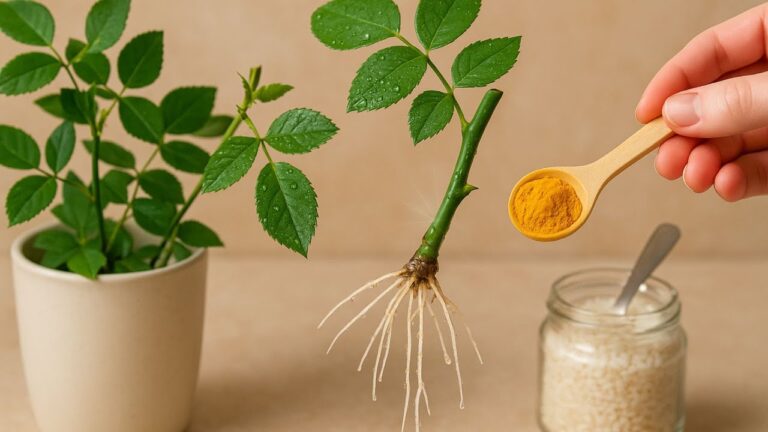
Taking and Preparing Cuttings
- Cut a 6-8 inch section from the selected branch below a leaf node at a 45-degree angle.
- Remove the lower leaves, leaving just a couple at the top to retain moisture.
- Dip the cut end in rooting hormone, if using.
Planting Your Cuttings
- Fill your pots or tray with potting mix, ensuring it’s moist but not waterlogged.
- Poke a hole in the soil with your finger and insert the cutting about 2 inches deep.
- Water lightly after planting to settle the soil around the cutting.
Caring for Your Cuttings
Cover the planted cuttings with a plastic bag or dome to create a mini-greenhouse, maintaining humidity. Place the pots in a location with indirect sunlight, and be sure to check the moisture level regularly.
Common Mistakes to Avoid
While propagating roses can be a rewarding experience, there are common pitfalls to watch out for:
- Using old or woody cuttings: Ensure you select fresh, young branches to increase your success rate.
- Overwatering: Too much moisture can lead to rot; keep the soil slightly moist, not drowning.
- Neglecting humidity: Without adequate humidity, cuttings may dry out before they take root.
FAQ
What is the best time of year to propagate roses?
The ideal times are early spring or late summer when the plants are actively growing.
Do I need rooting hormone for rose propagation?
While it’s not mandatory, using rooting hormone can enhance root development and success rates.
How long does it take for rose cuttings to root?
Expect it to take around 4 to 6 weeks for your cuttings to establish roots, depending on the conditions.
Conclusion
By understanding how to prepare and plant your rose branches, you can significantly enhance the beauty of your garden. Avoid common mistakes, and you may find yourself enjoying a flourishing rose garden sooner than you think. What varieties are you most excited to add to your collection?