Root 5 Rose Cuttings Instantly with Just 1 Spoon – Try This Simple Trick!
Root 5 Rose Cuttings Instantly with Just 1 Spoon – Try This Simple Trick!
- Introduction
Why Root Rose Cuttings?
Best Technique for Rose Cuttings
Common Mistakes to Avoid
FAQ
Conclusion
Introduction
Have you ever wished you could propagate your favorite rose varieties without spending too much time or effort? You might be feeling overwhelmed by the different methods available, wondering which one truly works. The joy of watching those cuttings take root and bloom into beautiful roses can seem just out of reach. But the good news is that using a simple spoon can make this process significantly easier and more effective. Continue reading to discover how you can achieve success with your rose propagation.
Why Root Rose Cuttings?
Rooting rose cuttings is a rewarding gardening practice that allows you to fill your garden with your favorite blooms without purchasing new plants. It’s also a sustainable way to share roses with friends and family.
Benefits of Propagating Roses
- Cost-effective: Using cuttings minimizes expenses.
- Variety: You can create multiple plants from one existing rose.
- Connection: It deepens your connection to the plants you love.
Ideal Time for Taking Cuttings
The best time to take rose cuttings is during the spring or summer months when the plants are actively growing. At this point, you’ll have softwood cuttings that are easier to root.
Best Technique for Rose Cuttings
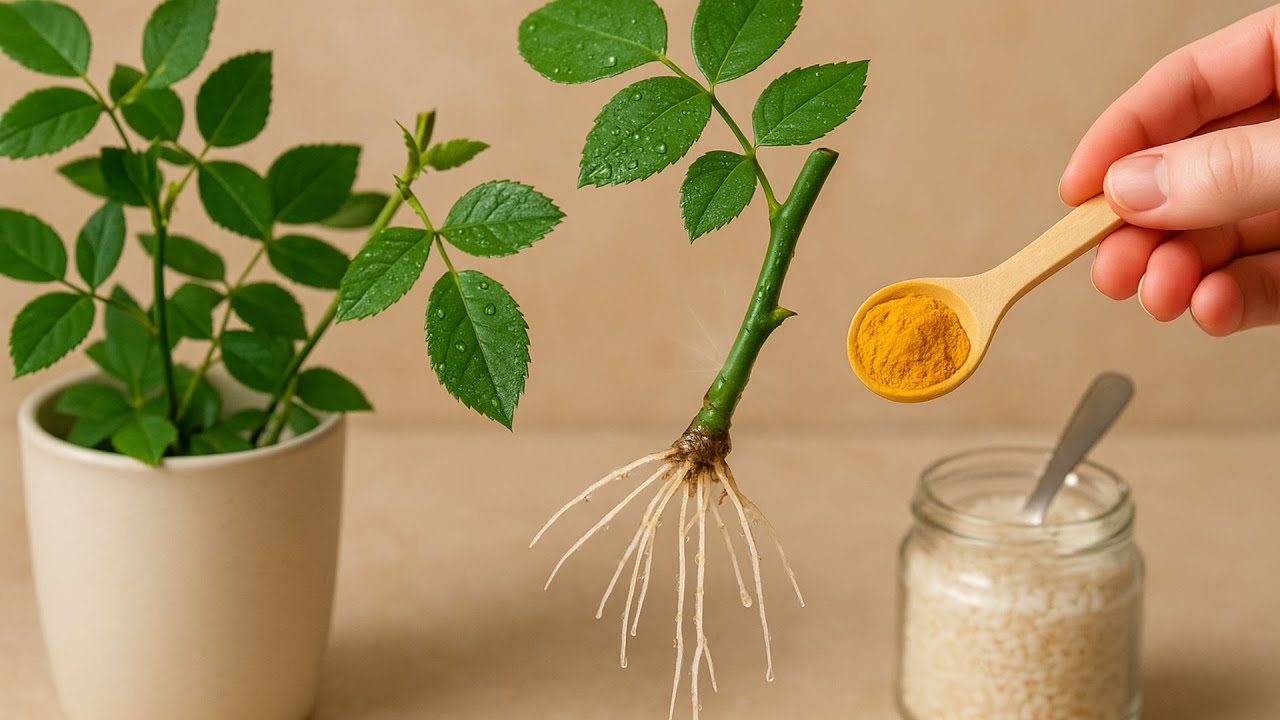
Using a spoon to root your cuttings is not only simple but also highly effective. Below, you’ll find the materials you need and the steps to follow.
Required Materials
- A healthy rose plant for cuttings
- A clean spoon
- Potting soil
- Small containers or seedling trays
- Clear plastic bag or plastic wrap
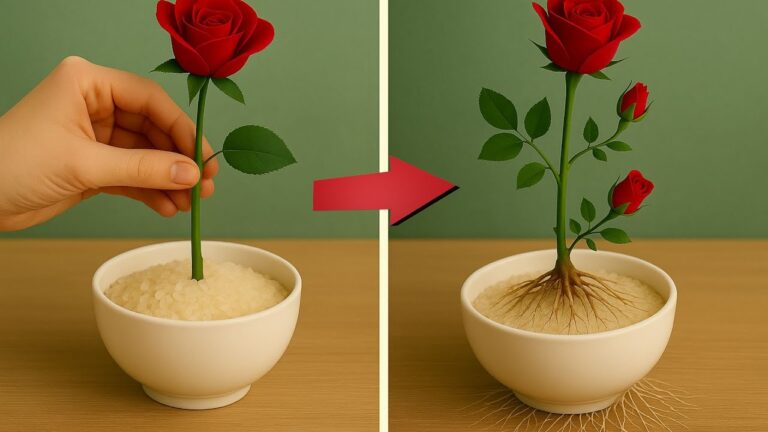
Step-by-Step Instructions
- Choose healthy stems of about 6-8 inches long from the rose plant.
- Cut the stems just below a leaf node using sharp scissors.
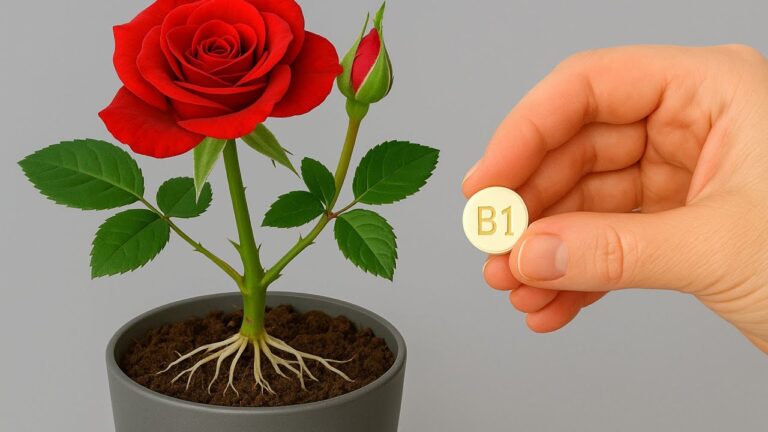
- Dip the cut ends in rooting hormone for best results (optional).
- Insert each cutting into the soil-filled container, making sure to bury at least one leaf node.
- Water lightly and cover the container with a clear plastic bag to create a humid environment.
- Place the container in a warm, indirect sunlight area, and monitor moisture levels.
Care for Your Cuttings
Maintain the soil’s moisture without overwatering to prevent rot. After a few weeks, you should notice roots forming. At this point, you can slowly acclimate the new plants to their outdoor environment.
Common Mistakes to Avoid
When propagating roses, avoiding common errors is crucial for ensuring success. Here are some pitfalls to be aware of:
Not Using Clean Tools
Overwatering Your Cuttings
Ignoring Temperature and Light
FAQ
How long does it take for rose cuttings to root?
Typically, it can take 2 to 8 weeks for rose cuttings to root, depending on the variety and environmental conditions.
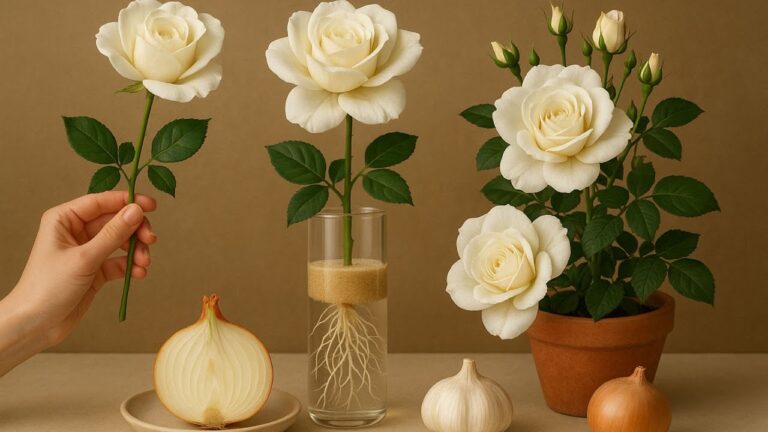
Can I root rose cuttings in water?
Yes, you can use water to root rose cuttings, but soil usually provides a more stable environment for growth.
Should I fertilize my cuttings?
It’s best to wait until the cuttings are well-rooted before adding fertilizer, as too much can stress the young plants.
Conclusion
Rooting your own rose cuttings is a simple and satisfying endeavor that can enhance your garden. By using a spoon and following the recommended techniques, you can successfully propagate your favorite varieties. What types of roses are you excited to try rooting? Share your thoughts in the comments below!