
Grow 777 Roots from Your Roses with This Simple No-Soil Method!
Grow Roots from Your Roses with This Simple No-Soil Method
- Introduction
- Why Root Roses Without Soil?
- Materials Needed
- Step-by-Step Process
- Common Mistakes to Avoid
- FAQ
- Conclusion
Introduction
Have you ever pruned your rose bushes and wondered what to do with those lovely cuttings? Instead of tossing them away, you can breathe life into them by promoting root growth using a method that doesn’t involve soil. This no-soil technique is not only easy but also encouraging for any gardener looking to propagate their favorite roses. Let’s explore how you can transform those cuttings into thriving new plants.
Why Root Roses Without Soil?
Using a no-soil method for rooting roses offers several benefits:
- Space-saving: You can root your cuttings indoors or in a small space.
- Cleanliness: This method minimizes soil mess, making it more convenient for indoor gardening.
- Greater visibility: You can easily monitor the root development in water.
This approach can particularly benefit those with limited outdoor space or for those looking for a cleaner alternative. Understanding these benefits can motivate you to give it a try.
Materials Needed
Before you start, gather the following materials that will make your rooting process successful:
- Healthy rose cuttings (4-6 inches long)
- Glass jar or clear container (to observe the roots)
- Filtered water (to prevent algae growth)
- Rooting hormone (optional, but can enhance rooting)
- Plastic wrap or a small plastic bag (to maintain humidity)
Having these materials ready sets you up for a smooth rooting journey, ensuring that all your bases are covered.
Step-by-Step Process
Now, let’s dive into the straightforward process of rooting your rose cuttings without soil.
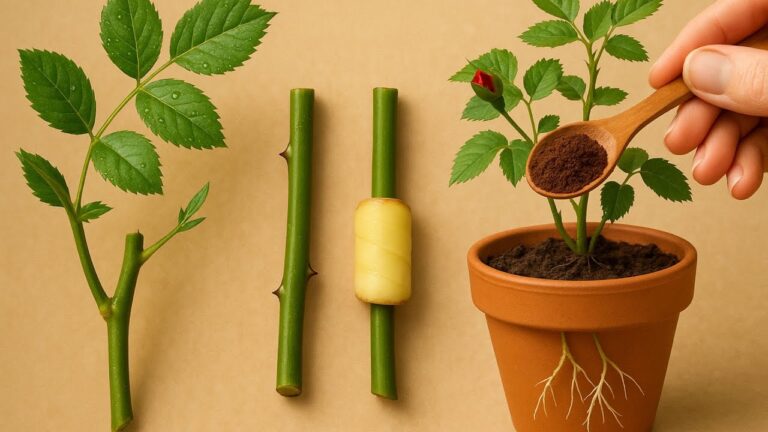
1. Prepare Your Cuttings
- Choose healthy stems that have at least two nodes.
- Trim the bottom of each cutting at a 45-degree angle to increase surface area.
- If desired, dip the cut end in rooting hormone to promote growth.
2. Place in Water
- Fill your glass jar or container with filtered water, about halfway full.
- Insert the rose cuttings into the water, ensuring at least one node is submerged.
- Cover the jar with plastic wrap or a plastic bag to maintain humidity.
3. Maintain Your Cuttings
- Change the water every few days to keep it fresh and clear.
- Place the jar in a bright, indirect light location.
- Monitor the cuttings for signs of root growth, which can take a few weeks.
Common Mistakes to Avoid
For successful rooting, steer clear of these common pitfalls:
- Using unhealthy cuttings: Always choose healthy, disease-free stems.
- Skimping on light: Insufficient light can hinder root development.
- Neglecting water changes: Stagnant water may lead to mold or algae.
- Overcrowding cuttings: Giving each cutting enough space prevents competition.
Avoiding these mistakes will enhance your chances of successfully propagating your roses.
FAQ
Can I root any type of rose cutting?
Most rose cuttings can be rooted using this method, but hybrid roses often root better than old garden roses.
How long does it take for rose cuttings to root?
Rose cuttings typically take about 2 to 4 weeks to show roots, depending on the environment and care.
What should I do once my cuttings have roots?
Once roots are established, you can transplant them into soil or larger pots for further growth.
Conclusion
Rooting your rose cuttings using this no-soil method can lead to successful propagation with minimal fuss. By monitoring your cuttings and caring for them, you pave the way for new plants to flourish. Have you tried propagating roses before, or is this your first time? Share your experiences below!