Root 10 Rose Branches Overnight with Just 1 Bottle! Discover the Secret Now!
Rooting Rose Branches Overnight: Your Complete Guide
Introduction
Have you ever admired the beauty of rose bushes in your garden and wished you could propagate them easily? The idea of increasing your rose collection without the need for purchasing new plants can be enticing. However, many people struggle with the propagation process, often finding it frustrating and time-consuming. Fortunately, with the right approach, you can successfully root rose branches overnight. Keep reading to uncover this simple method.
Benefits of Rooting Roses
Rooting your own rose branches offers several advantages that can enhance your gardening experience.
1. Cost-Effective
By creating new plants from existing ones, you save money that would have been spent on buying new roses.
2. Variety Expansion
Rooting allows you to expand the variety of roses in your garden without wandering into local nurseries.
3. Sentimental Value
Propagation can imbue your garden with sentimental value, especially if the roses hold special memories for you.
Materials Needed
Before you begin the rooting process, gather the following materials:
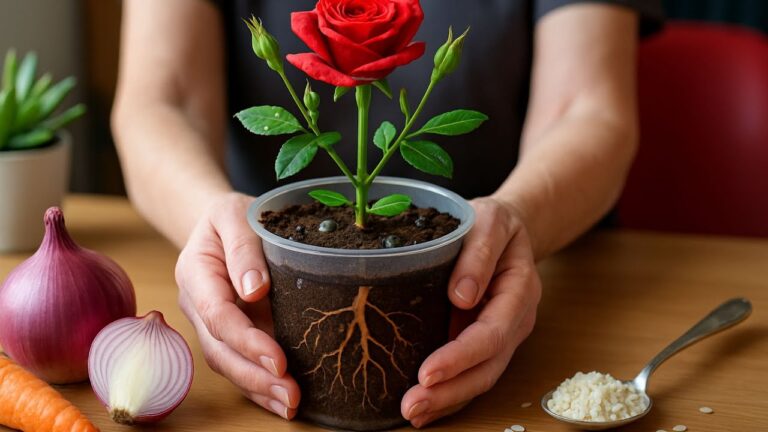
- Rose cuttings: Select healthy, non-flowering stems of about 6 inches long.
- Container: A small pot or container with drainage holes works best.
- Soil mix: Use a lightweight, well-draining potting mix.
- Water: Fresh water is essential for successful rooting.
- Plastic wrap: This will help maintain humidity.
Step-by-Step Process
Follow this straightforward process to root your rose branches overnight.
1. Prepare Your Cuttings
Begin by selecting healthy rose stems. Use these steps to prepare:
- Cut: Use sharp scissors or pruners to take cuttings, ensuring a clean edge.
- Remove leaves: Strip lower leaves from the cutting, leaving a few at the top.
- Dip: Optionally, dip the cut end into rooting hormone to encourage growth.
2. Plant the Cuttings
It’s time to place your prepared cuttings into the soil.
- Fill: Add your potting mix to the container, leaving some space at the top.
- Insert: Make a small hole in the soil and place the cutting in, gently tapping the soil around it.
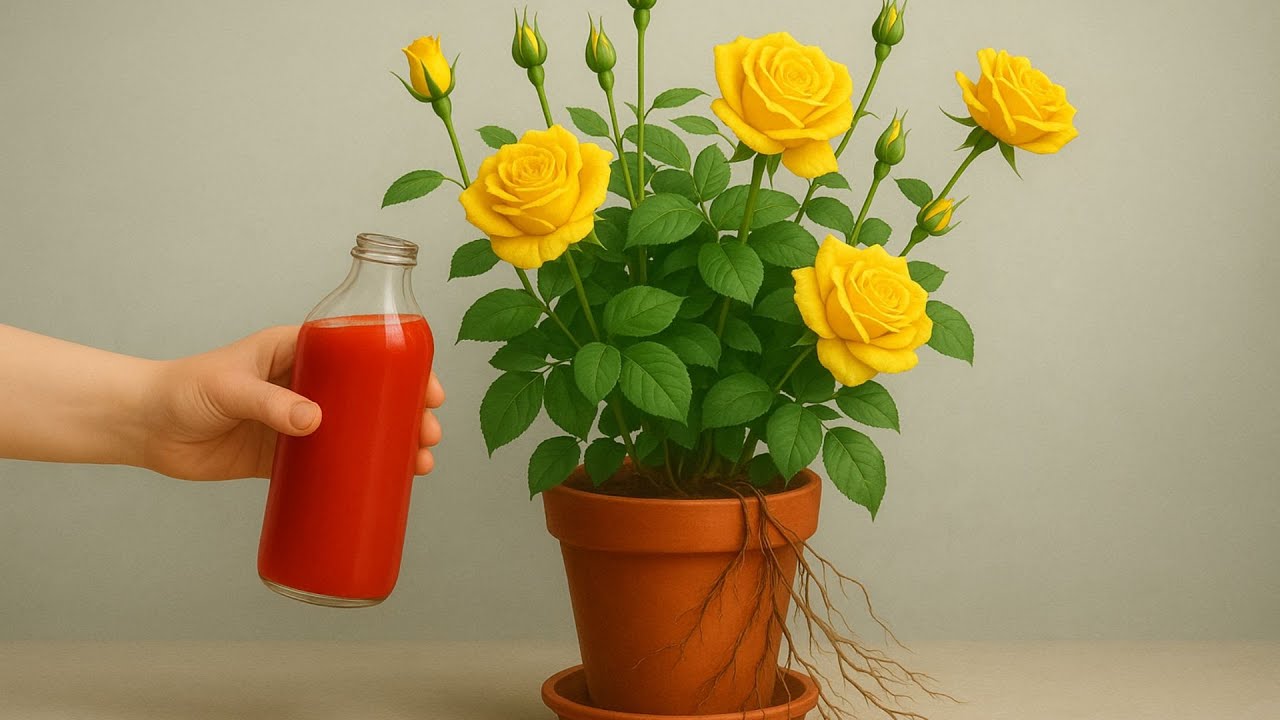
- Water: Give your cutting a light drink of water to help establish it.
3. Create a Humid Environment
To enhance rooting, follow these steps:
- Cover: Use plastic wrap to create a mini greenhouse effect over the pot.
- Monitor: Check the soil daily; it should be moist but not waterlogged.
- Remove: After a few days, you can slowly acclimate the plant by removing the wrap for short periods.
Common Mistakes
Even experienced gardeners can make errors when rooting rose cuttings. Here are some to avoid:
- Using old cuttings: Only use fresh stems for the best chance of success.
- Overwatering: Ensure the soil is moist, but avoid making it soggy.
- Skipping cutoff leaves: Leaves left on the stem can draw moisture away from the cutting.
- Neglecting humidity: Ensure the cutting is covered initially to maintain humidity levels.
FAQ
How long does it take for rose cuttings to root?
Typically, rose cuttings can start to show roots within two to three weeks, but some may take longer depending on the variety and conditions.
Can I root rose cuttings in water?
Yes, rooting rose cuttings in water is possible, but planting them directly into soil often yields better results.
What is the best time to take rose cuttings?
The ideal time for taking rose cuttings is during the growing season, typically in spring or early summer.
Conclusion
By following these steps, you can successfully root rose branches overnight and expand your beautiful garden. What types of roses are you looking forward to propagating?