Root 7 Rose Cuttings Effortlessly with Just 1 Spoon – Discover the Magic!
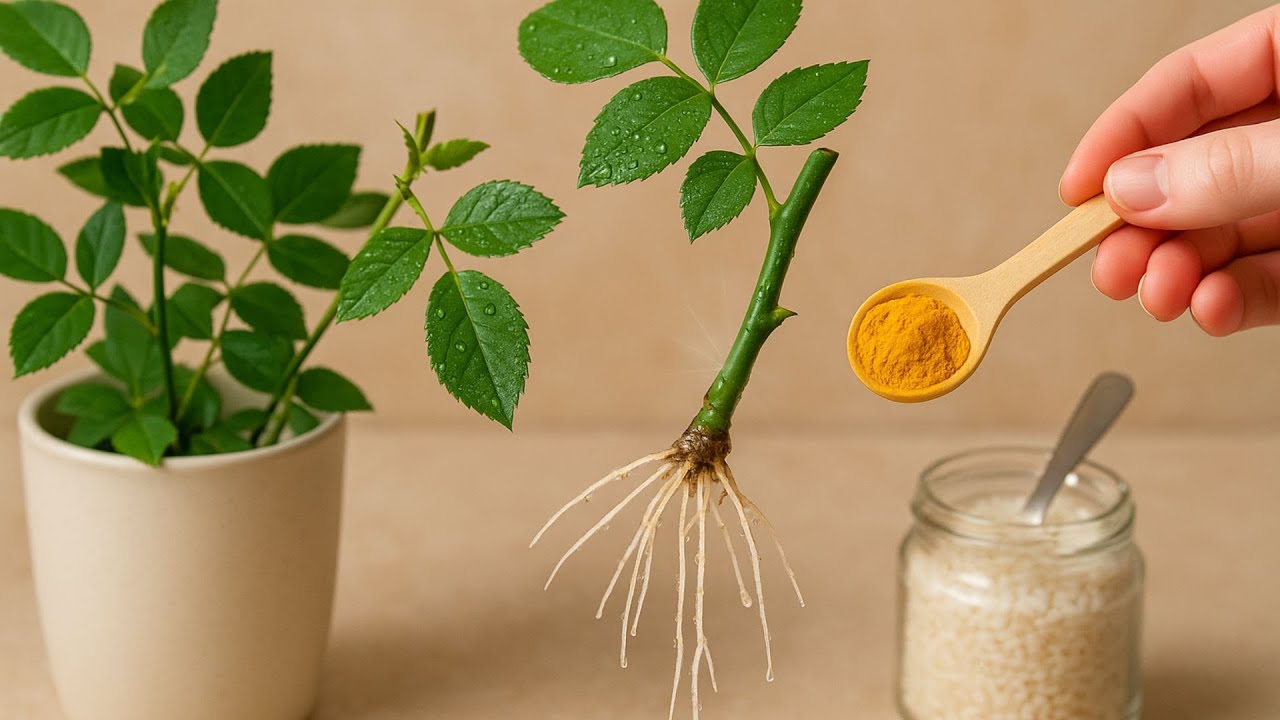
Root Rose Cuttings Effortlessly with Just 1 Spoon
Introduction
Have you ever wanted to expand your garden with beautiful roses but felt overwhelmed by the thought of propagating them? You’re not alone. Many gardening enthusiasts hesitate when it comes to taking rose cuttings because it seems complicated. However, rooting rose cuttings is easier than you might think, and you can do it with just a simple spoon. Read on to discover the straightforward method that could transform your garden.
Required Materials
To successfully root rose cuttings, you will need a few basic supplies. Gathering the right materials ensures that your process goes smoothly and increases your chances of success.
- Healthy rose cuttings – Select fresh stems from a healthy rose bush.
- Small pot – A 4- to 6-inch pot works well.
- Potting soil – A well-draining mixture is best.
- Spoon – This will help you dig and plant your cuttings.
- Water – Needed to keep the cuttings moist.
Preparation Steps
Rooting rose cuttings involves a few simple steps that can be easily followed. Let’s explore how to perform each step effectively.
Step 1: Choosing the Right Cuttings
Start by selecting the right rose stems. The best cuttings are typically:
- 6 to 8 inches long.
- From the current season’s growth.
- Taken from healthy plants with no signs of disease.
Step 2: Preparing the Cuttings
Once you have selected your cuttings, you need to prepare them for planting:
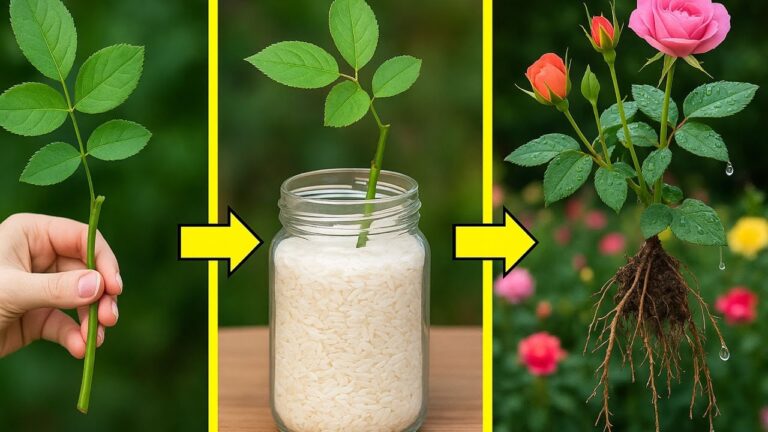
- Make a clean cut just below a node using sharp scissors or pruners.
- Remove the lower leaves, keeping only a couple at the top.
- Optional: Dip the cut end in rooting hormone to encourage growth.
Step 3: Planting the Cuttings
Now it’s time to plant your cuttings:
- Fill your pot with potting soil, leaving a small space at the top.
- Use your spoon to make holes in the soil for each cutting.
- Gently place the cuttings in the holes and firm the soil around them.
- Water the cuttings to ensure the soil is moist but not soggy.
Step 4: Caring for the Cuttings
After planting, proper care is crucial for successful rooting:
- Place the pot in a warm, bright location but away from direct sunlight.
- Keep the soil moist, checking regularly to ensure it doesn’t dry out.
- Consider covering the pot with a plastic bag or a makeshift greenhouse to maintain humidity.
Common Mistakes to Avoid
- Using old or unhealthy cuttings – Ensure the stems are fresh and healthy.
- Overwatering – Too much water can lead to rot; keep the soil moist, not soggy.
- Lack of humidity – If the environment is too dry, the cuttings may wilt before rooting.
- Too much sunlight – Direct sunlight can stress the cuttings; filtered light is preferable.
- Neglecting to check for roots – After a few weeks, check for root development to know when to transplant.
FAQ
1. How long does it take for rose cuttings to root?
Typically, it takes 4 to 6 weeks for rose cuttings to establish roots, but this can vary based on conditions.
2. Can I use any type of rose cutting?
It’s best to use healthy cuttings from hybrid or hardy rose varieties for successful rooting.
3. What should I do if my cuttings aren’t rooting?
If rooting isn’t happening, check for excessive moisture or inadequate light, and adjust your care routine accordingly.
Conclusion
Rooting rose cuttings using just one spoon is a straightforward process that can lead to beautiful blooms in your garden. By following these easy steps and avoiding common mistakes, you can ensure successful propagation. What types of roses are you hoping to grow from cuttings? Please share your thoughts in the comments!