This simple technique transforms plain tissue paper into stunning home decor…
This Simple Technique Transforms Plain Tissue Paper into Stunning Home Decor
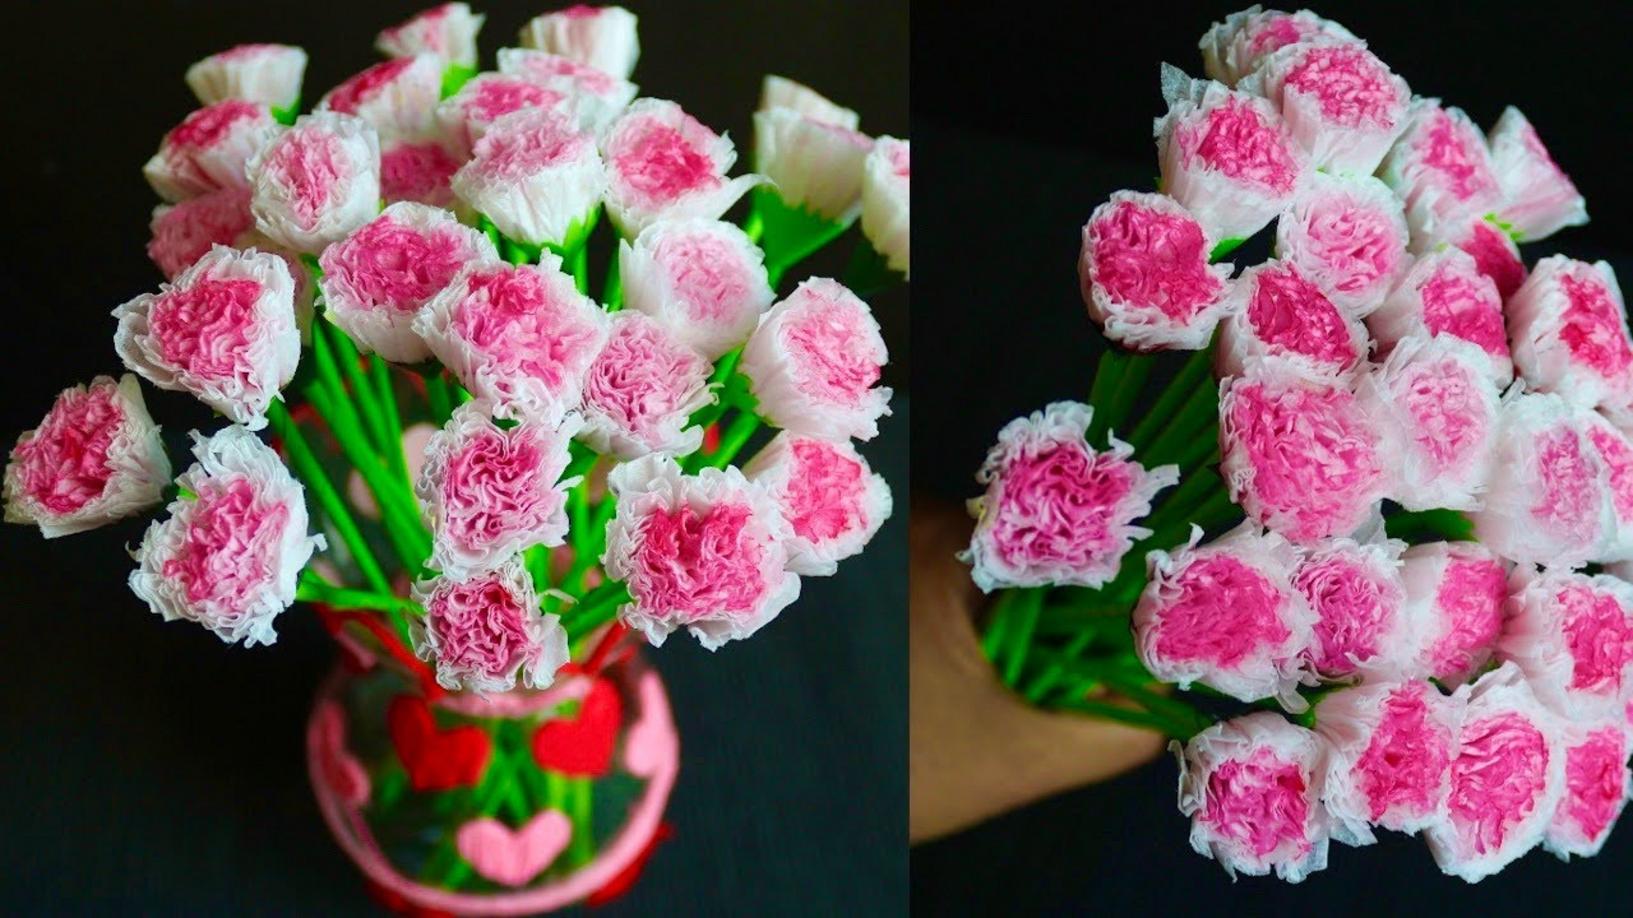
Are you ready to unleash your creativity and brighten up your space? Making beautiful **small tissue paper flowers** is an enjoyable craft that can add a pop of color to any room. This easy-to-follow guide will show you how to turn ordinary tissue paper into delightful decor that will impress your friends and family.
What You’ll Need
- Colored **tissue paper**
- **Craft wire**
- Colored **bond paper** or printer paper
Step-by-Step Guide to Creating Tissue Paper Flowers
Step 1: Gather Your Materials
Start by collecting all the materials listed above. Make sure the tissue paper comes in vibrant colors to make your flowers eye-catching!
Step 2: Cut the Tissue Paper
Take several sheets of tissue paper (about 6-8 sheets) and cut them into equal rectangles. A good size is around 10” x 15”, but feel free to adjust based on your preference.
Step 3: Stack the Tissue Paper
Stack the cut rectangles neatly on top of one another. The more layers you have, the fuller your flower will look!
Step 4: Fold the Stack
Begin to **accordion fold** the stack of tissue paper. Make folds of about 1 inch wide, and keep folding until you reach the end of the stack.
Step 5: Secure the Center
Using a piece of **craft wire**, tightly secure the middle of the folded stack. Make sure it’s secure enough so that it can hold its shape.
Step 6: Shape the Flower
Carefully peel each layer of tissue paper towards the center, one at a time. Start from the top layers and work your way down to create a fluffy flower. Be gentle as tissue paper can tear easily!
Step 7: Add a Stem
If desired, cut a longer piece of **craft wire** and attach it to the bottom of your flower to create a stem. You can also use colored bond paper to craft leaves for a more realistic touch.
Practical Tips Based on Experience
- Experiment with Colors: Don’t hesitate to mix and match colors to create unique flowers.
- Layering Matters: Using more layers results in a fuller flower.
- Be Patient: Take your time when peeling the layers to ensure they don’t rip.
Common Mistakes to Avoid
- Too Few Layers: Using less tissue paper results in a flat flower.
- Rushing the Process: Quick movements can lead to tearing. Take your time!
- Ignoring the Shape: Ensure your initial stacking and folding are even so that the flower blooms nicely.
Conclusion
Creating beautiful tissue paper flowers is not just a fun activity but also a great way to beautify your living space! Whether you’re hosting an event or just want to add some cheer to your home, these flowers are the perfect solution. Gather your materials today and let your creativity flourish!
If you enjoyed this project, make sure to subscribe for more inspiring ideas at BeingArtistic. Share your creations with us, and let’s fill the world with color!