5 Simple Steps to Easily Propagate Beautiful Roses at Home
How to Propagate Beautiful Roses at Home
- Introduction
- Required Materials
- Step-by-Step Process for Propagation
- Common Mistakes to Avoid
- Frequently Asked Questions
Introduction
Have you ever admired a neighbor’s rose garden, wishing you could cultivate such beauty in your own yard? Perhaps you’ve tried to grow roses from seeds but faced challenges along the way. Propagating roses can be a fulfilling endeavor that allows you to multiply your favorite varieties with ease. There’s a rewarding process that not only gives you more blooms but also connects you to nature. Read on to discover how to seamlessly propagate beautiful roses at home.
Required Materials
Before diving into the details of propagation, gathering the right materials is crucial. Here’s a list of what you’ll need:
- Healthy rose cuttings: Choose stems from mature plants, ideally during spring or early summer.
- Potting soil: A well-draining mix is essential for healthy root development.
- Pots or seed trays: Ensure they have drainage holes to prevent waterlogging.
- Plastic bags or a humidity dome: These will help maintain moisture and encourage rooting.
- Water: It’s important to keep your cuttings hydrated throughout the process.
Step-by-Step Process for Propagation
To successfully propagate rose cuttings, follow these straightforward steps:
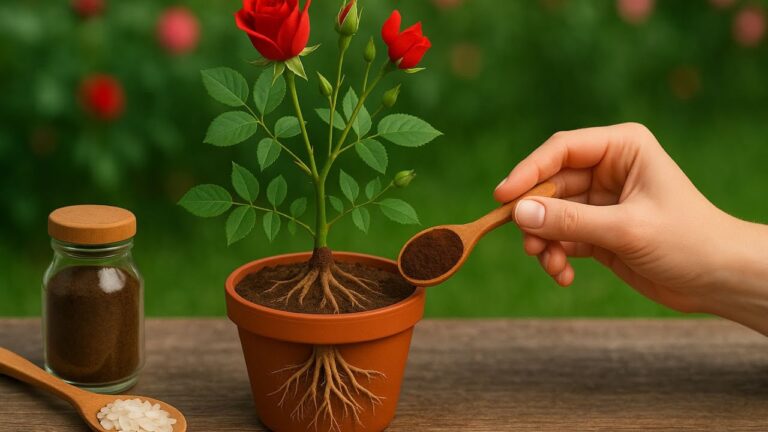
- Take the cuttings: Use clean, sharp shears to cut 6-8 inch sections from healthy rose stems, making sure to have at least two leaf nodes.
- Prepare the cuttings: Remove the lower leaves, leaving only 1-2 leaves at the top to conserve energy.
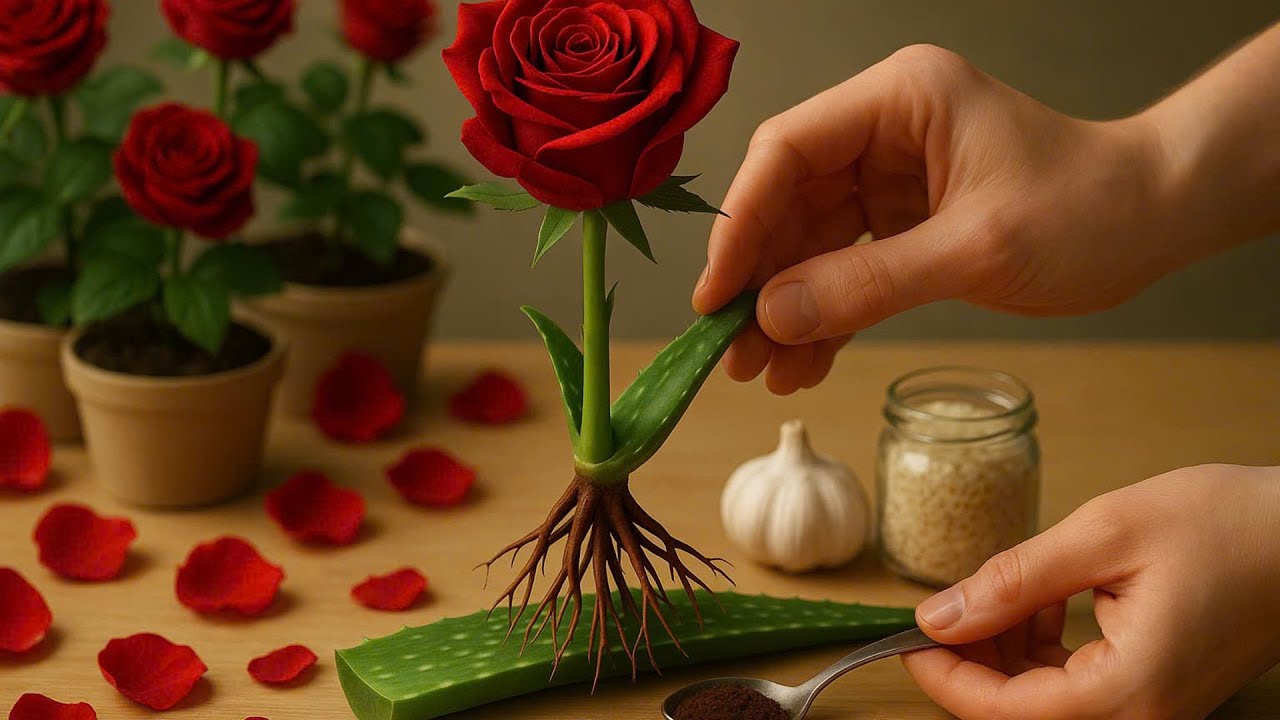
- Dip in rooting hormone: This optional step can enhance root growth. Simply dip the cut end into the hormone before planting.
- Plant the cuttings: Insert the cut end into well-moistened potting soil, ensuring the leaf nodes are buried to support root growth.
- Cover and care: Place your pots under a plastic bag or inside a humidity dome to retain moisture, and keep them in a warm, bright location.
Watering and Light Conditions
Keep the soil consistently moist but not soggy. Bright, indirect sunlight is ideal for encouraging growth without the risk of scorching the cuttings.
Timing and Patience
It typically takes 4-6 weeks for rose cuttings to root. Check periodically for new growth as a sign of success.
Common Mistakes to Avoid
While propagating roses, it’s easy to make a few common errors. Here are some mistakes to steer clear of:
- Using cuttings from unhealthy plants can lead to failure. Always select the best specimens.
- Skipping the humidity cover may dry out the cuttings. Maintain a moisture-rich environment.
- Overwatering the soil, which can cause rot, is a frequent mistake. Ensure good drainage and monitor watering habits.
- Ignoring the light conditions may hinder growth. Ensure that cuttings receive appropriate indirect sunlight.
- Being impatient! Give your cuttings ample time to root before disturbing them.
Frequently Asked Questions
How long does it take for rose cuttings to root?
Rose cuttings typically take 4-6 weeks to develop roots, depending on the variety and the conditions.
Can I propagate roses in water?
Yes, roses can be propagated in water, but it’s often less successful than using soil. If you choose this method, be sure to change the water regularly.
What types of roses are best for propagation?
Hybrid tea roses, floribunda, and climbing roses are some of the best varieties for propagation due to their robust nature.
Conclusion
Propagating beautiful roses at home is a delightful way to expand your garden and enjoy the beauty of these flowers. By following the outlined steps and avoiding common mistakes, you can cultivate healthy rose plants. What varieties are you excited to propagate in your garden?