Root 7 Potato Cuttings Overnight for Amazing Blooms Tomorrow!
Mastering Potato Cuttings: Your Guide to Vibrant Blooms Overnight
Introduction
Have you ever thought about how to transform your garden with beautiful blooms? You might have seen potato plants thriving in someone’s backyard, their lovely flowers adding charm to the landscape. However, achieving that burst of color can seem challenging, especially if you’re unsure about the best techniques for starting potato cuttings. In this guide, you’ll discover how to cultivate dazzling blossoms through simple potato cuttings overnight. Let’s dive in!
Essential Materials
Before you begin, gather the following materials to ensure your potato cutting journey is successful:
- Healthy seed potatoes (preferably organic)
- Sharp knife
- Clean container for water
- Well-draining potting mix
- Planting pots or garden space
Choosing the Right Potatoes
It’s vital to select healthy seed potatoes, as their quality directly affects the growth and bloom quality. Look for firm potatoes without soft spots or signs of decay. Organic options are preferable since they are less likely to carry pests.
Preparing Your Container
A clean container is essential to prevent any contaminants from affecting your potato cuttings. Use a dish or bowl that can hold water without leaking, and ensure it’s washed thoroughly.
Step-by-Step Process
Now, let’s get into the practical steps for creating your potato cuttings. By following this method, you’ll be on your way to seeing stunning blooms in no time!
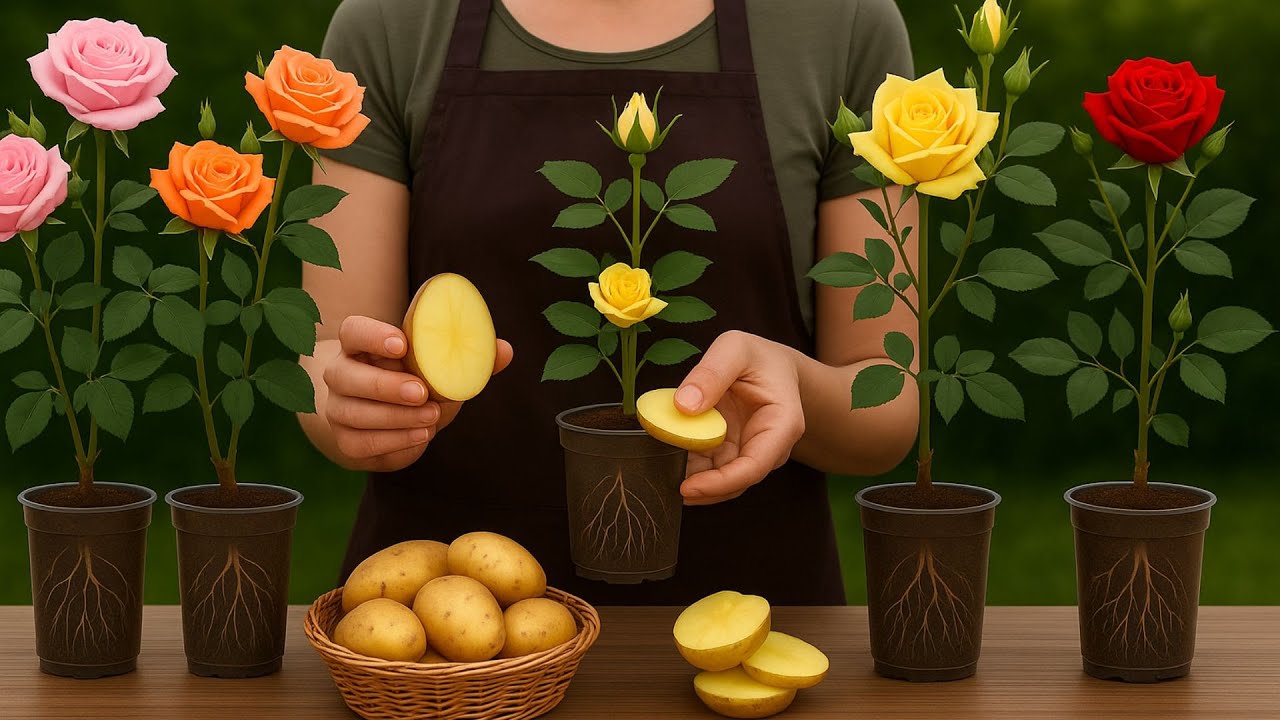
- Cut the potatoes: Use a sharp knife to slice your healthy seed potatoes into sections, ensuring each piece has at least one eye.
- Soak cuttings in water: Place your potato pieces in the container, submerging them halfway in water. Leave them overnight to encourage sprouting.
- Prepare your planting pots: Fill your pots with well-draining potting mix, ensuring it’s moist but not waterlogged.
- Plant the cuttings: After soaking, plant the potato pieces in the pots with the eyes facing upwards.
- Water lightly: Give them a gentle watering to settle the soil around the cuttings.
Creating a Warm Environment
To enhance your results, consider placing your pots in a warm, sunny location. This environment can promote faster sprouting and lead to healthier blooms.
Monitoring Your Progress
Keep an eye on your cuttings during the following days. As they begin to sprout, ensure they are watered regularly but avoid oversaturation, which can cause rot.
Common Mistakes to Avoid
When experimenting with potato cuttings, a few common mistakes can hinder your success. Here’s what you should look out for:
- Using spoiled or diseased potatoes — Always choose healthy seed potatoes for the best results.
- Overwatering your cuttings — Ensure the soil is moist but well-drained.
- Neglecting sunlight — Potatoes require a warm, sunny spot to thrive.
- Skipping the soaking step — Soaking helps to initiate sprouting.
FAQ
Can I use any kind of potato for cuttings?
It’s best to use healthy seed potatoes, as they are specifically grown for propagation and disease resistance.
How long does it take for potato cuttings to bloom?
Typically, you can expect blooms within 4-6 weeks after planting, depending on climate and care conditions.
Can I plant potato cuttings directly in the ground?
Yes, you can, but ensure the soil is well-drained and rich in nutrients to support the growth and blooming process.
Conclusion
By following these straightforward steps, you can enjoy beautiful potato blooms in your garden. Remember to choose sturdy seed potatoes and provide them with the right conditions for optimal growth. What types of blooms are you hoping to achieve in your garden? Share your thoughts in the comments!