Root 5 Rose Branches Faster with This Simple, Magical Trick!
Root Rose Branches Faster with This Simple Trick
- Introduction
- Understanding Rose Propagation
- Materials Needed
- Step-by-Step Guide
- Common Mistakes
- FAQ
- Conclusion
Introduction
Have you ever wanted to expand your garden by growing new rose plants from existing ones? You may have tried in the past only to find that your efforts didn’t yield the results you hoped for. The good news is that with the right techniques, you can root rose branches more effectively and enjoy a blooming garden in no time. Keep reading to discover how simple adjustments can make a big difference in propagating roses successfully.
Understanding Rose Propagation
Before diving into the practical steps, it’s essential to understand how roses propagate naturally. This knowledge can enhance your success. When you cut a rose branch, the key processes that take place include:
- Wound healing: The cut area needs to heal properly to avoid rot.
- Root development: Roots grow from the stem when given the right conditions.
- Hormonal activity: Auxins, which promote root growth, play a crucial role.
By recognizing these processes, you can implement methods that encourage new roots to form efficiently.
Materials Needed
Gathering the right materials is the foundation for successful rose propagation. Here’s what you will need:
- Healthy rose branches: Choose stems that are at least 6 inches long and healthy.
- Potting soil: Look for well-draining soil mixture suited for cuttings.
- Hormone rooting powder: This can significantly enhance root development.
- Containers: Small pots or seed trays work best for starting your cuttings.
Having these materials ready will set you up for success as you move forward with the propagation process.
Step-by-Step Guide
Now that you have your materials, follow these steps to root your rose branches effectively:
- Prepare the cuttings: Cut a healthy branch at a 45-degree angle just below a leaf node. Remove any leaves on the lower half of the cutting.
- Apply rooting hormone: Dip the cut end into rooting hormone. This encourages new root growth.
- Plant the cuttings: Insert the hormone-coated end into your prepared potting soil, making sure it’s firm and stable.
- Water adequately: Lightly water the soil to keep it moist but not soggy. Overwatering can lead to rot.
- Create humidity: Cover the cuttings with a plastic bag or use a mini greenhouse to maintain humidity, which encourages rooting.
Aftercare Tips
Place your pots in indirect sunlight and monitor moisture levels regularly. As roots develop, gradually acclimate the new plants to outdoor conditions.
Common Mistakes
Even with the best intentions, mistakes can happen that hinder your success in rooting rose branches. Here are some common pitfalls to avoid:
- Using unhealthy cuttings: Always select robust and disease-free branches.
- Improper soil mix: Ensure your soil strikes a balance between drainage and moisture retention.
- Overwatering: Prevent rot by keeping the soil evenly moist rather than soaking wet.
- Poor light conditions: Too much direct sunlight can stress cuttings, while too little light can stunt growth.
FAQ
How long does it take for rose cuttings to root?
Typically, it can take anywhere from 2 to 8 weeks for rose cuttings to develop roots, depending on environmental conditions.
Do I need to use rooting hormone for rose cuttings?
While not mandatory, using rooting hormone can significantly improve your odds of successful rooting.
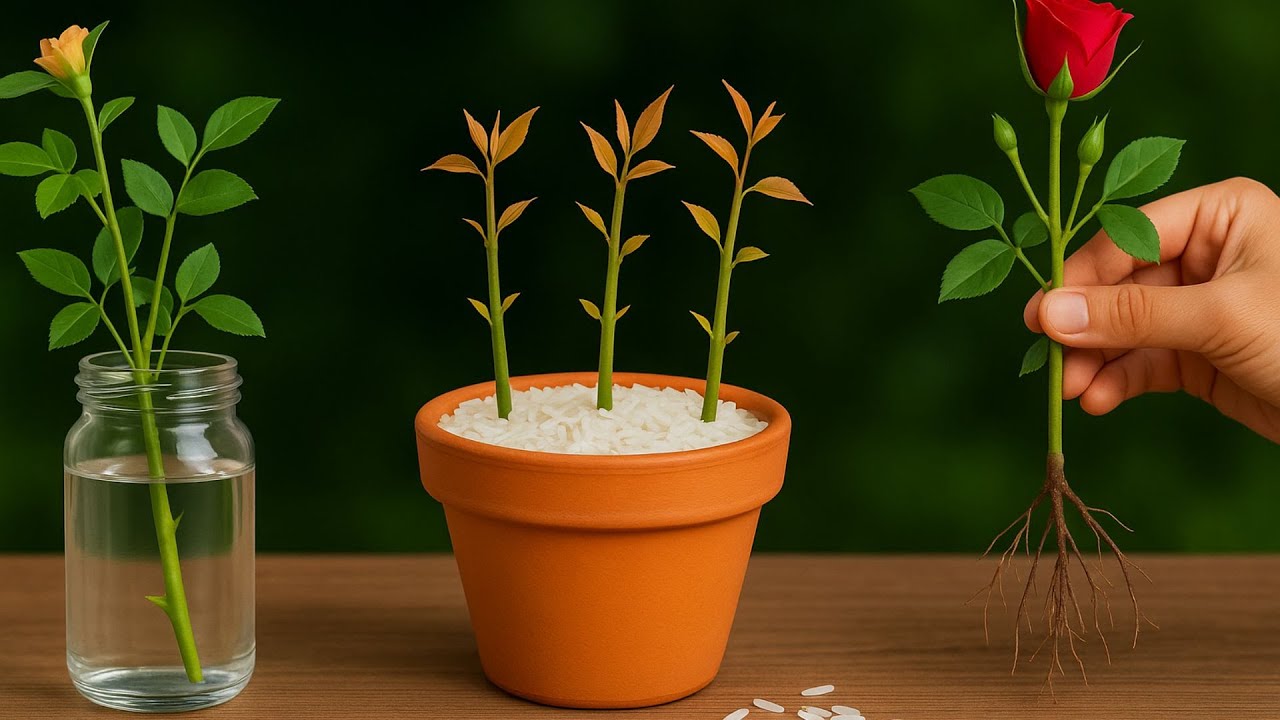
Can I propagate roses in water instead of soil?
Yes, roses can be propagated in water, but rooting in soil often yields better results due to increased stability and nutrients.
Conclusion
By following these steps and avoiding common mistakes, you can effectively root rose branches and expand your garden. Are you excited to try propagating your own roses? Share your experiences in the comments below!